kohei fujii guitars
Kohei Fujii Guitars
Sunday, June 29, 2025
Binding channel cut and purfling making
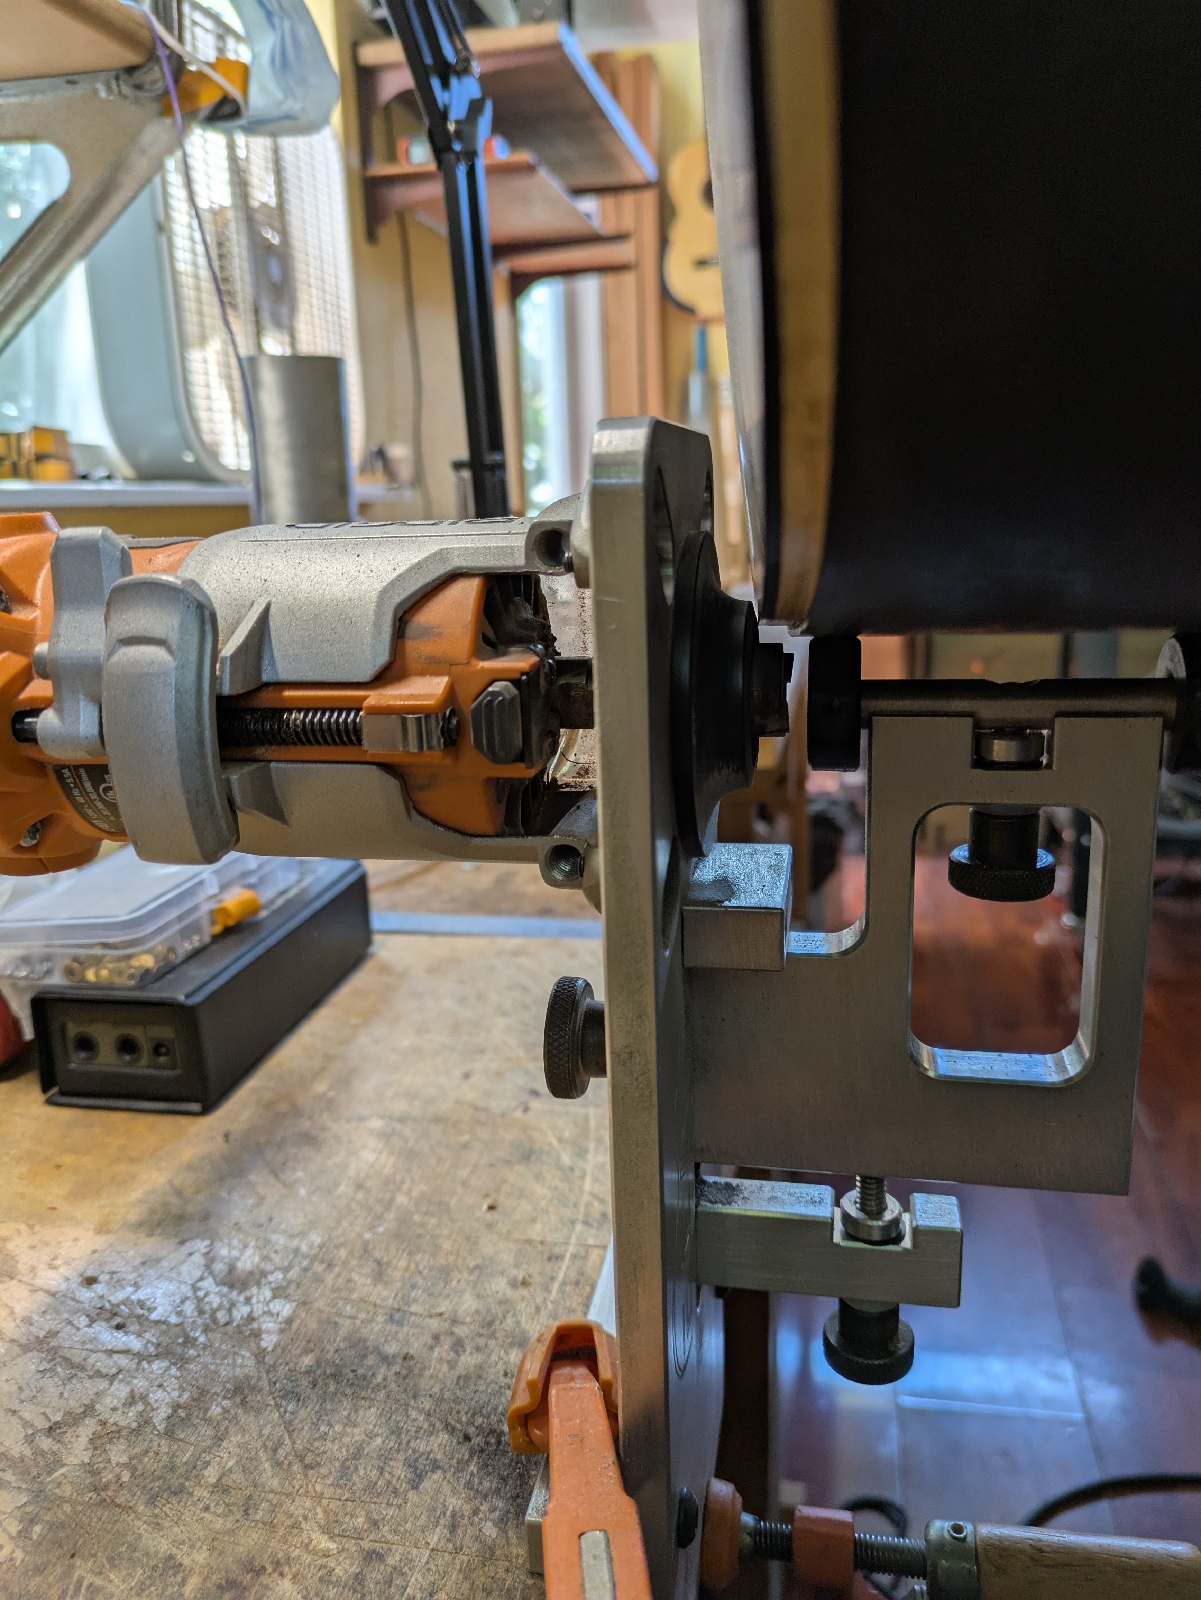
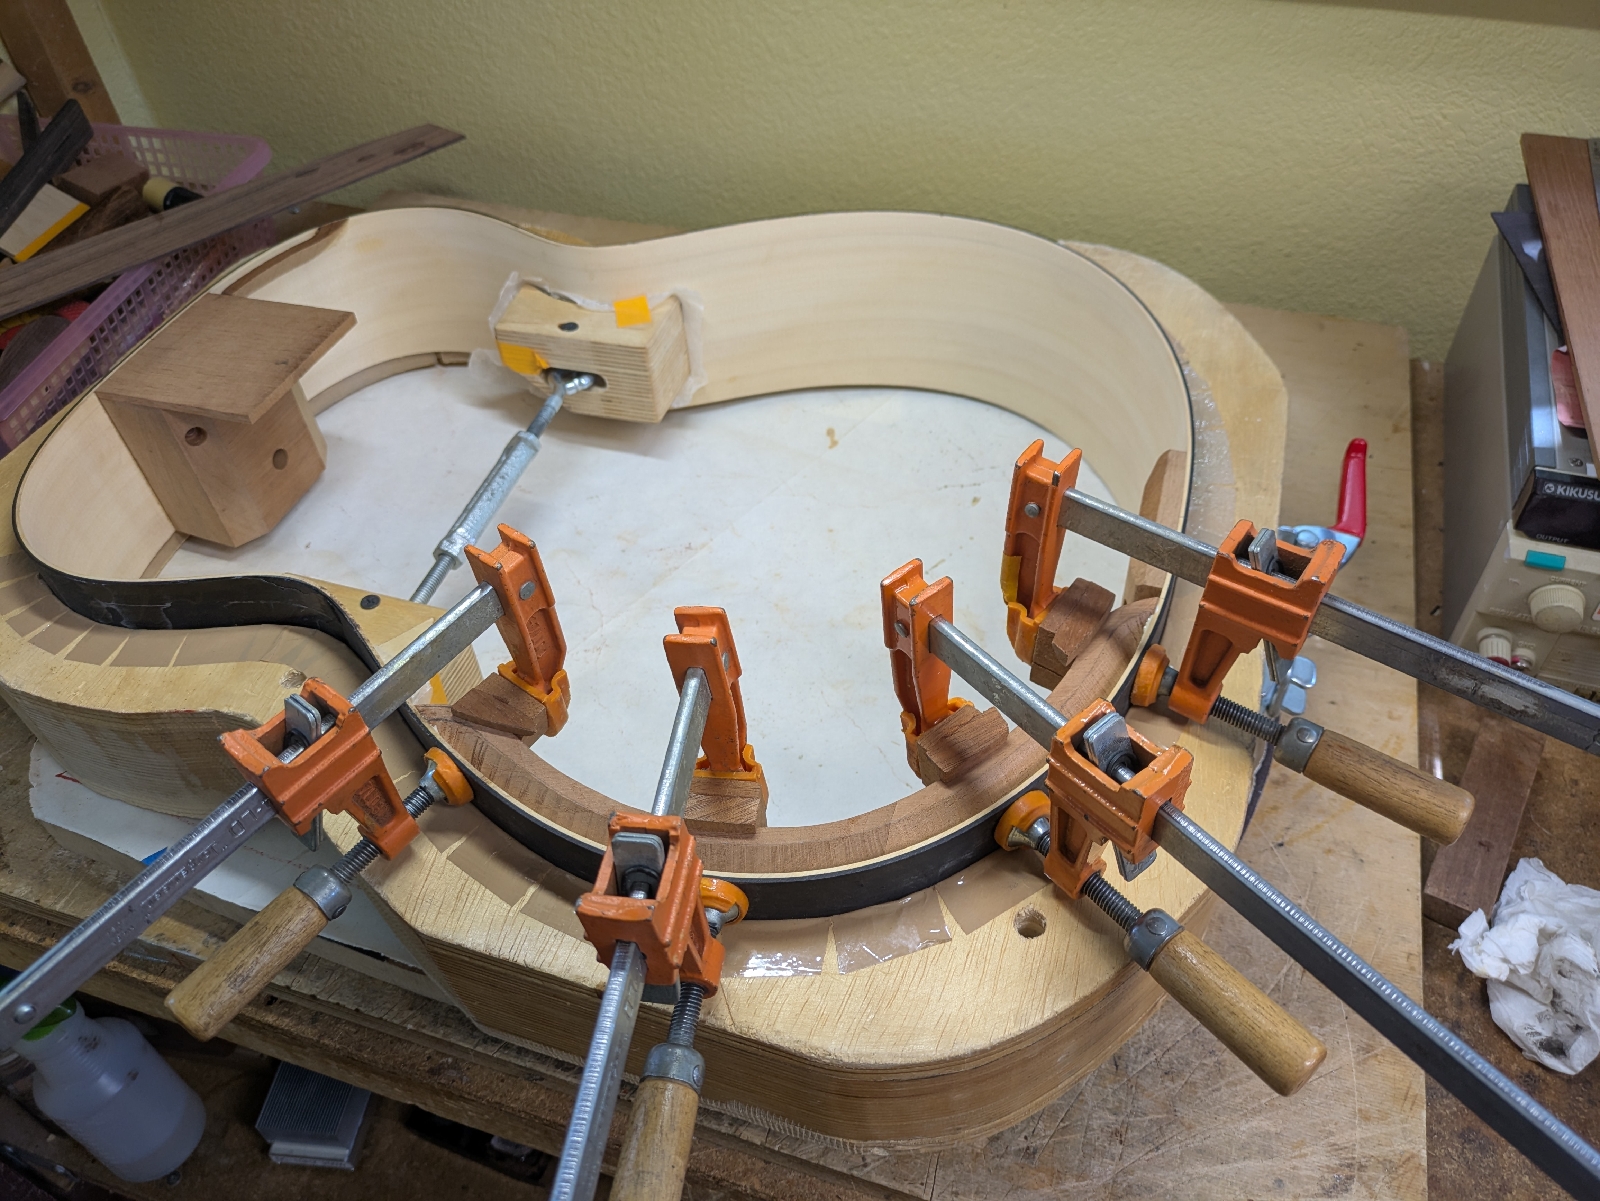
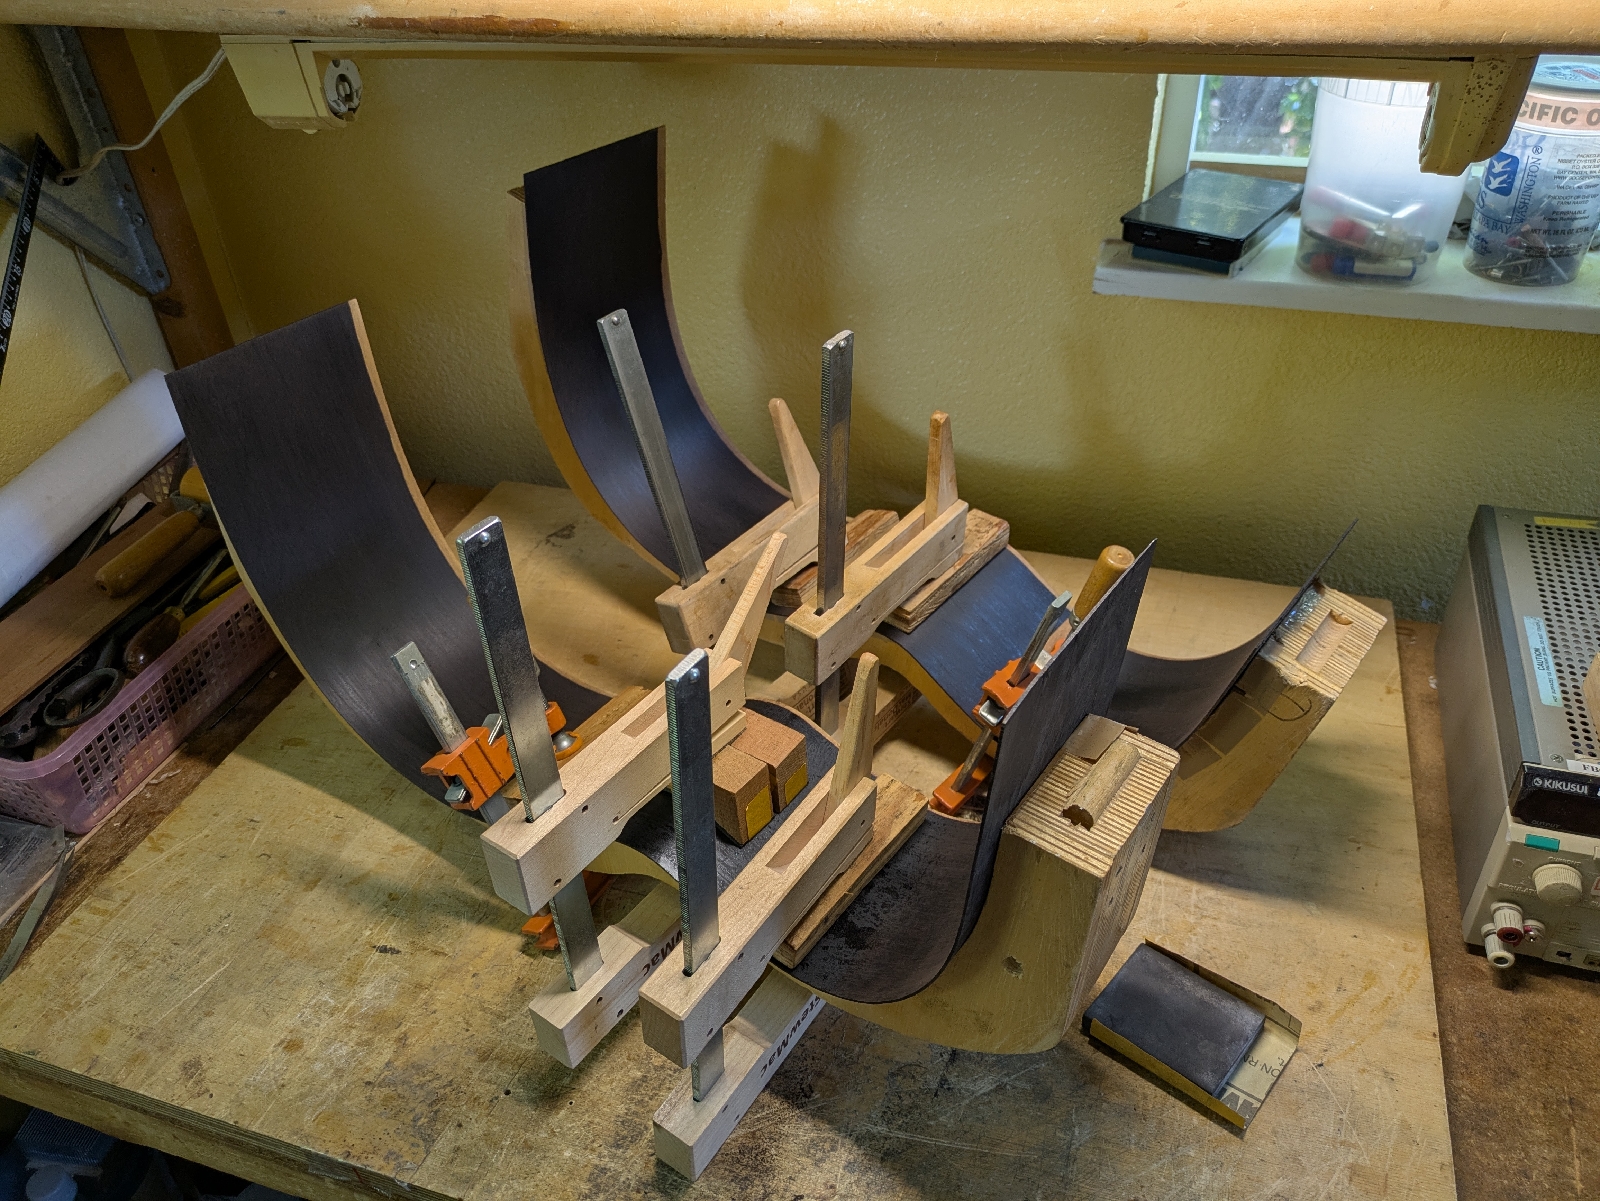
I completed the binding channel cut and the purfling making. Binding channel cut for the top is a relatively easy work. However, the back side is a quite challenging work due to the domed back shape. I introduced an elevate ultimate binding jig for this challenging task. Using the elevate ultimate binding jig, the result is amazingly good. Form a single cut, the binding channel is precisely square at all locations including the neck heal section.
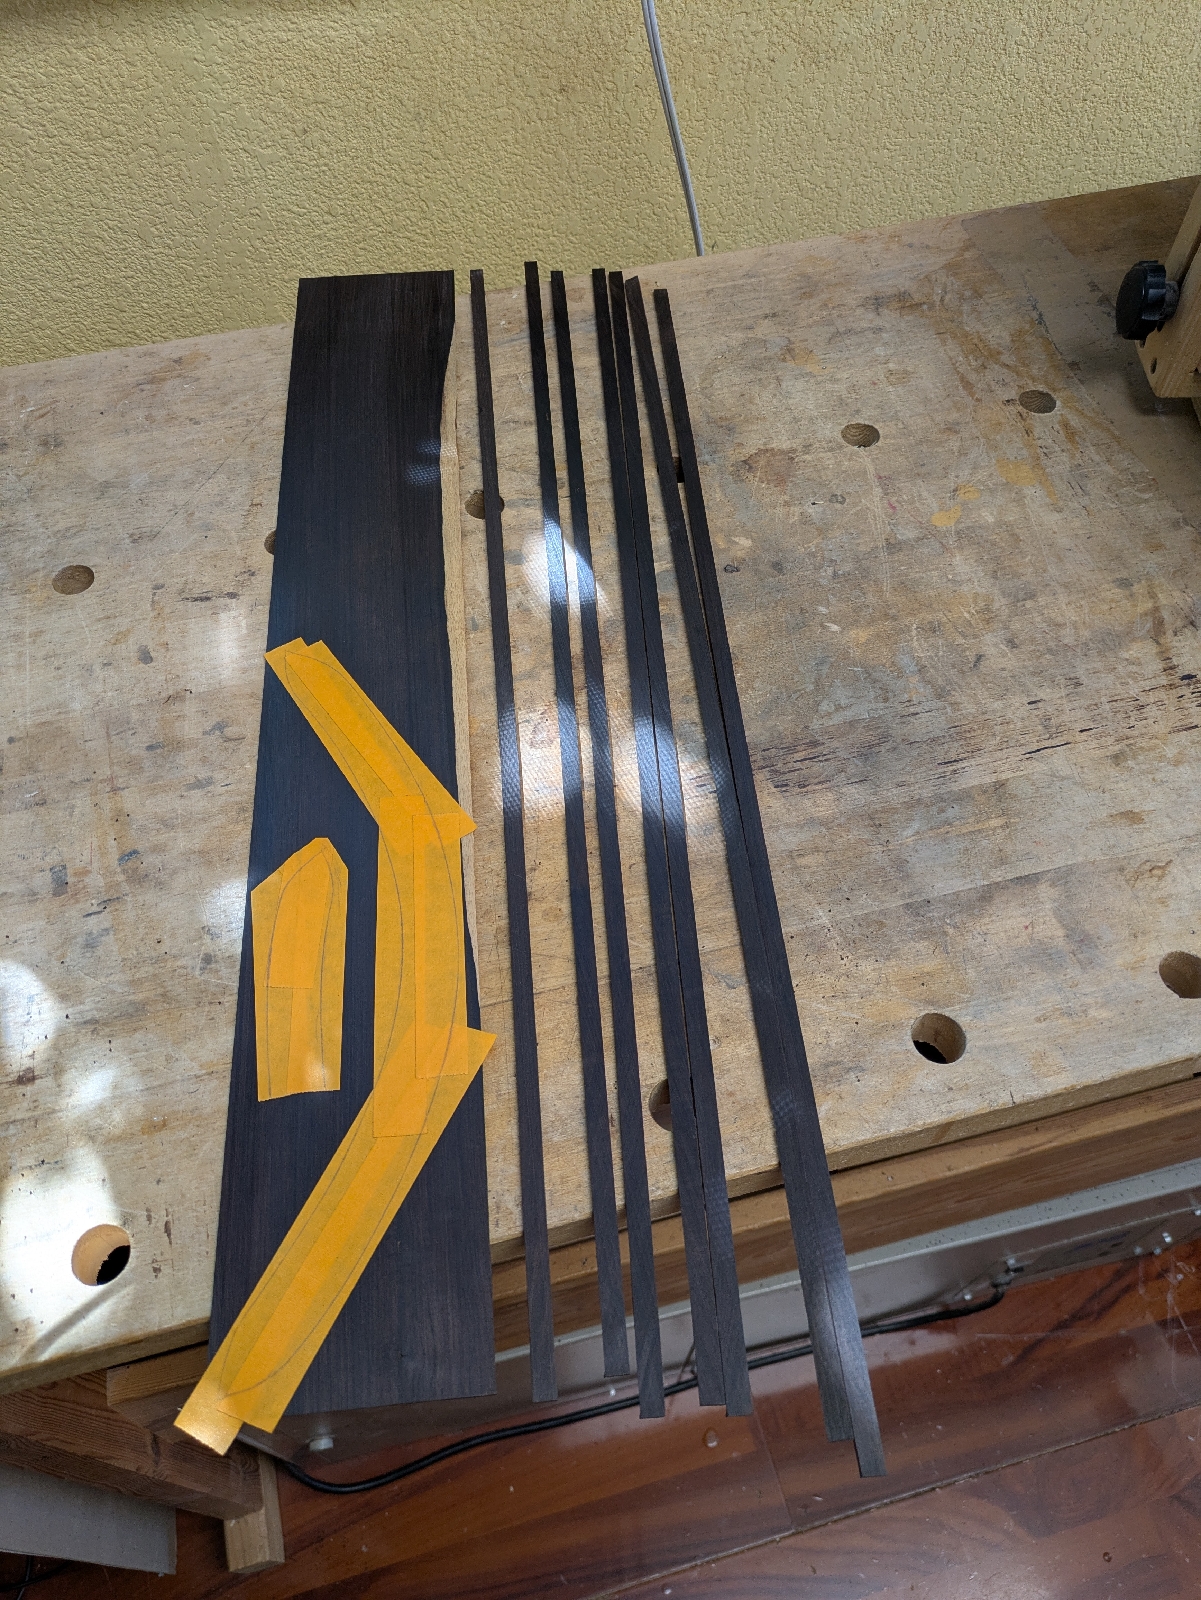
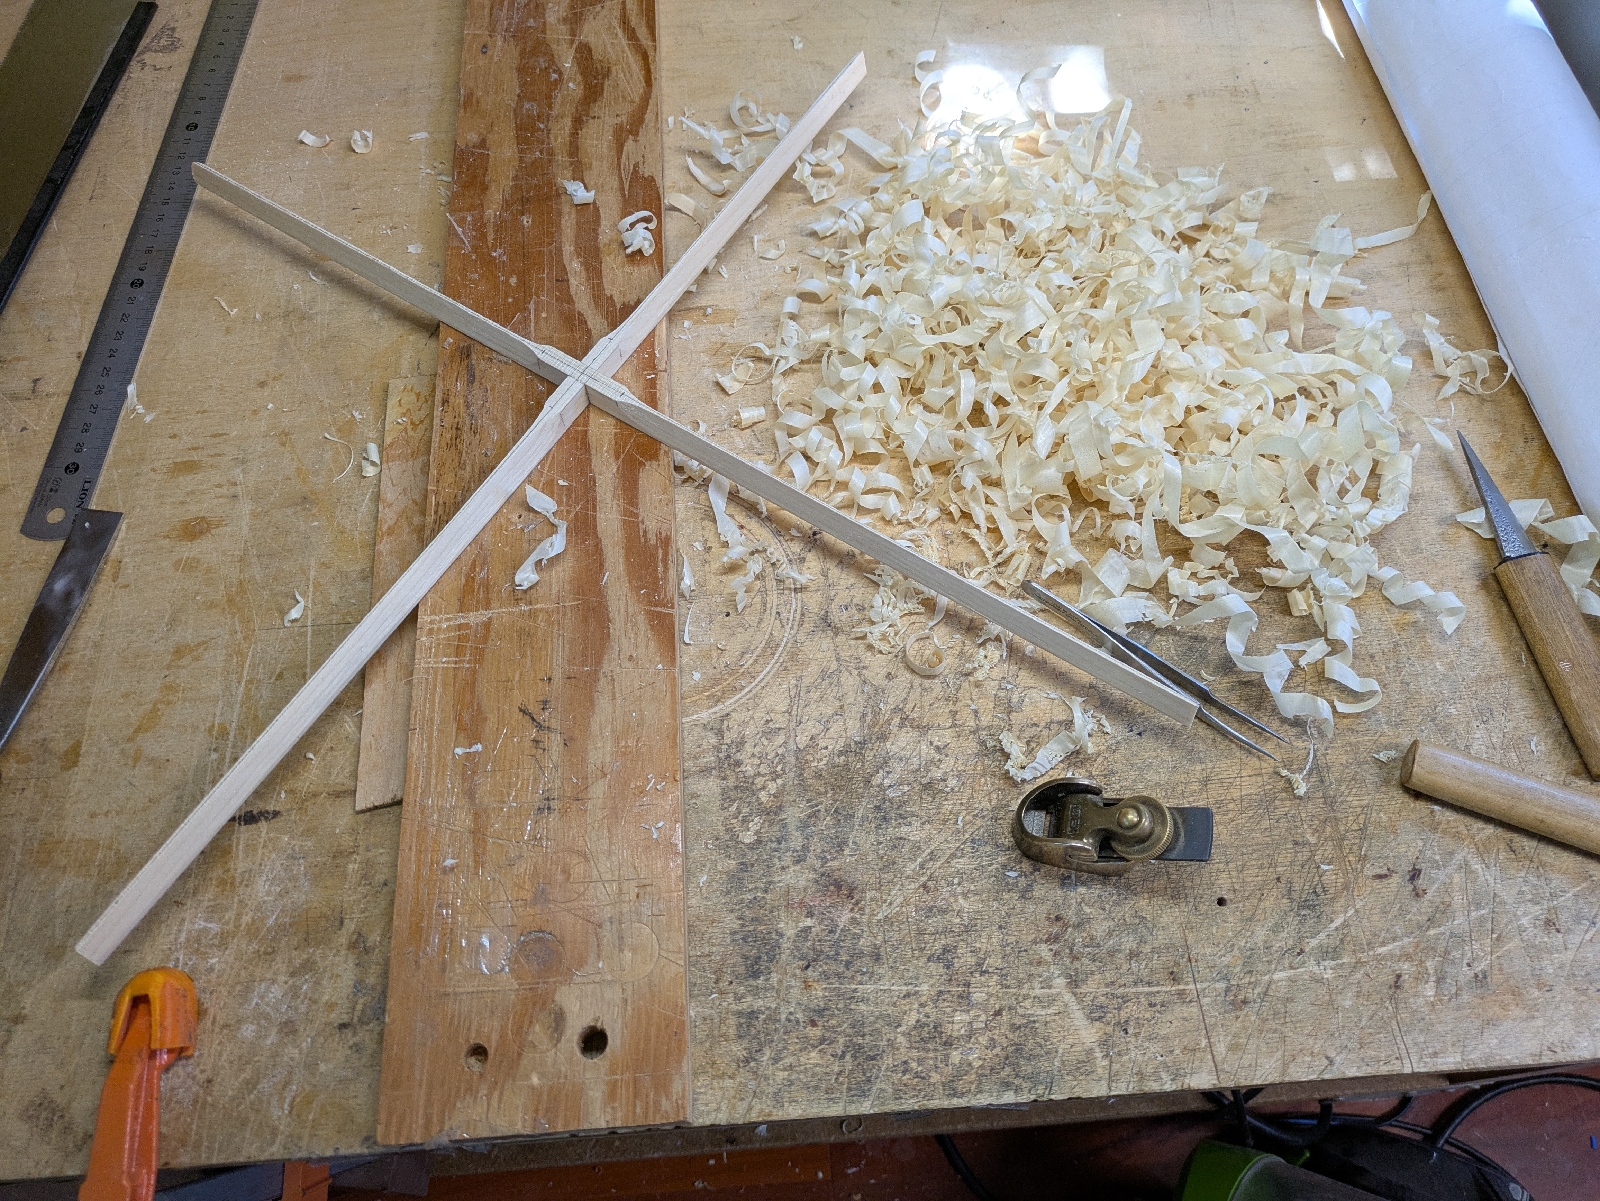
Closing box
I closed the box. Before closing the box, I applied couple of coats of shellac for both the top and the back. Also, I did final shaping work for the sound board bracing. After glued the top and the back, I precisely trimmed the beveled edges. This body showed very strong and long tap tone. The tap tone last more than one second. This is a very good indication for the good tonal quality of this guitar. Next step is a bonding and purfling install. This is a very detailed work.
Sunday, June 22, 2025
Carbon fiber rod install and the sound board final shape
I completed carbon fiber rod install. Carbon fiber rods are for preventing the body deformation over long time. Also, the carbon fiber rods improves the side rigidness for crisp sounds. Laminated side, solid lining, and the carbon fiber rods reinforcement are the best recipe for the best sound board vibration. This rock solid side maximizes the sound board vibration with minimum enagy loss. This is the most advanced steel strings guitar configuration.
I also completed the final shaping for the sound board. I have tried different bracing patters. Now, my bracing pattern is quite traditional shape. I think the X-bracing is the best bracing design for steel strings guitars. After complete the sound board shaping, I applied two coats of shellac for improving the moisture sensitivity. I have been using the shellac coating for inside of my guitars.
Sunday, June 15, 2025
Beveled armrest and solid lining
I installed the beveled linings for the armrest and the neck joint. I also installed the solid lining. Beveled linings is made from Spanish cedar. The solid lining is made from three layers laminated mahogany. Making the beveled lining is a bit tricky work. I always use a band saw for the 45-degree angled cut. Also, glueing work for the beveled lining is a tricky work. I created custom designed cauls for holding the beveled object. This device works pretty good for this tricky work. The sound board side lining install work is completed. Next week, I will install carbon fiber rods for improving the body rigidness.
Sunday, June 8, 2025
Block making and side assembly
I made head and tail blocks using Honduras mahogany. Also, I completed side assembly. This MD model will have a bolt on neck joint. Also, the MD will have a Carbon fiber rod body reinforcement bracing system. So, the block making is a little bit complicated work. Head and tail blocks were required to add many holes for the neck joint and carbon fiber reenforcement rods.
Sunday, June 1, 2025
Side bend and laminate work
Side bending work was completed. Bended African black wood and Yellow cedar were epoxy laminated for the MD body shape. Both African BW and Alaskan yellow cedar were thinned to 1.5mm thickness. I have been using an old electrical lump based bending machine. The machine still works good. For the Epoxy laminate work, I use at least 10-pcs of cast iron heavy duty C-clumps. Laminated side showed a perfect flatness and shape for the MD body.
Monday, May 26, 2025
Neck blanks and Top bracing
I did neck blanks making and top bracing install. For the neck blanks, I selected a 1"x4" Honduras mahogany material. I cut and glued to a three-piece laminated blanks. I have been using the three piece laminate construction for my steel strings models, because this construction has the best stability and strength. This blanks will be sitting in idle at least three weeks to release the gluing stress.
For the top bracing work. I start with a Brazilian RW bridge plate install. Then, I move to the X-bracing. Then, I install rest of bracings. I usually shape those bracings before install to the top. Bracing materials are Adirondack spruce. The last photo is the completed top. However, the final scalloping and brace shaping have not been completed.
Subscribe to:
Posts (Atom)