Kohei Fujii Guitars

Kohei Fujii Guitars

Sunday, December 29, 2013

New Lattice Bracing Nylon Strings Guitar Design

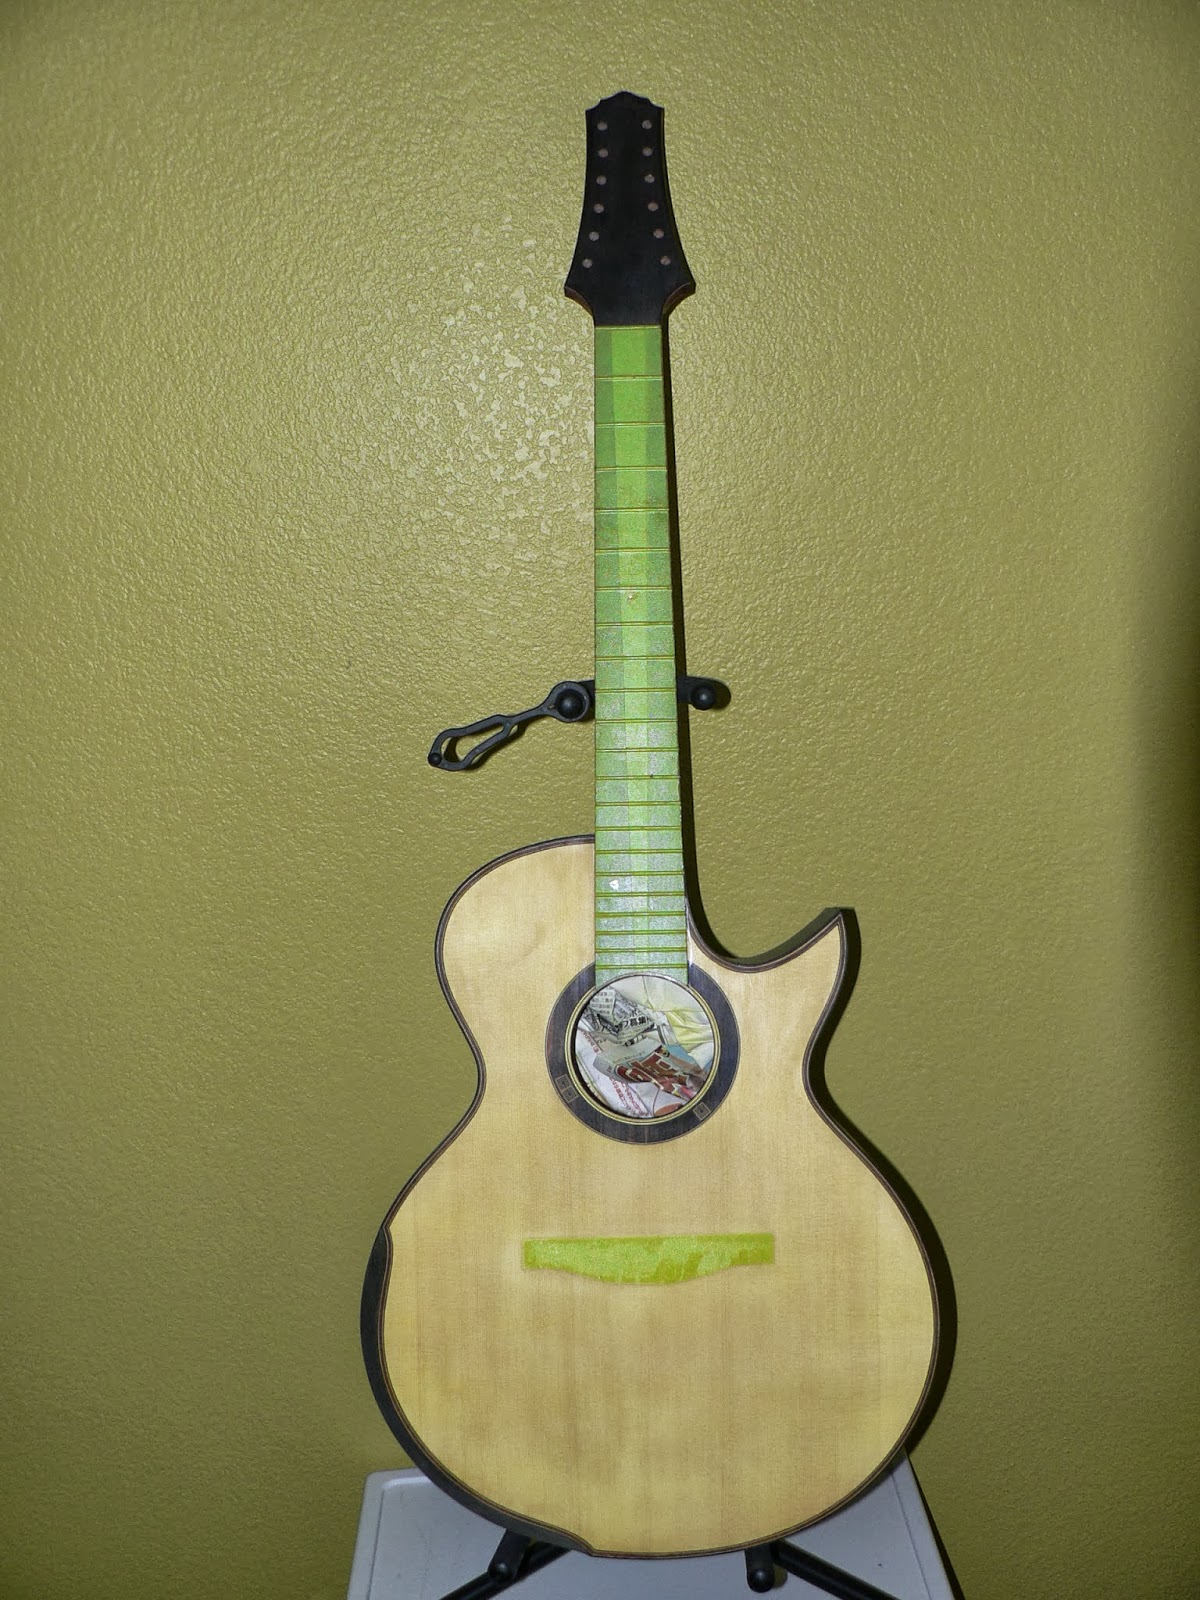
I have  a new project for an experimental nylon strings model. My goal is to make a guitar that has steel strings guitar like over tones using nylon strings. I am designing a guitar for Jazz and contemporary musicians. My assumption is using an electrical pick-up system; therefore, my design does not 
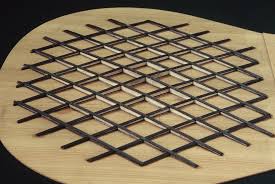
need loud voice. To generate a lot of over tones, I selected a lattice bracing design. A picture shown below is my new lattice bracing top. This has 5x5 lattice bracing configuration using 3mm thickness Sitka spruce. To make the brace lighter, I shaved as V-cross section. I also scalloped the lattice bracing. Lowest scalloped portion is at a little bit below the bridge. I want to make flexible portion at below the bridge to realize a cantilever like movement for the bridge. This top design might be able to create rich over tones effectively. I have never seen the top design like this.

This is my new lattice bracing pattern
 
Unlike my lattice bracing design, latest lattice bracing nylon strings guitars have Balsa wood bracing with carbon fiber lamination using Epoxy resin. Those designs have less than 1mm top board thickness with massive A-frame body using high quality aerospace grade poly wood. This design was originally invented by Greg Smallman. I do not believe the Smallman type design makes rich over tones. His design improves efficiency for making more loud sound. This means that his guitar works pretty effectively as a mechanical air pump. Also, all of existing lattice bracing designs have the thickest (strongest) portion at the bridge, and tapered out to the top edges. This design makes much larger the top movement; therefore, the guitar works pretty effectively as an air pump to make loud sound.  However, this design does not effectively contributes to generate rich over tones, because the bridge is very strongly coupled with the mechanically strongest top portion.

 
Typical bracing design for Smallman type guitars

My new guitar making might requires six month to complete at least. Once I complete this design, I would like to post sound samples to show how well my design generates rich over tones like steel strings guitars.

Sunday, December 15, 2013

New built start

New guitar making projects start. This time, I make two SSJ 6-strings versions and one nylon strings model for me. Three of them have European spruce top with Adirondack spruce brace. I did a lot of wood mill work today. I cur Adirondack spruce log to real bracing materials. You may see the rough cut log for bracing material. Those are look like fireplace wood.

I also cut many wood straps for Rosetta making. Materials are Myrtle, King wood, and Ebony. Those materials glue together to make a colorful Rosetta for SSJ model.

Nylon model has an off-set sound hole, and Lattice bracing using the Adirondack spruce. Back and side materials are Amazon rosewood. Actuary this material was initially processed for the SSJ model; however, the wood quality is not good enough for my customers. I rejected this material. I will use this material for my experimental project.


Saturday, November 30, 2013

MD re-setting and re-finishing

My previously completed guitar has a finishing material issue. I have experienced a curing issue using the Target EM7000 finishing material. This finish required extremely long curing time, and never get herd enough coat. You may see the second photo for the machine head scares. Those are clear evidences for how much finish has been sunken. Now, I am re-finishing using the EM6000 formula. I will spray one-hour/coat schedule. I spray 4 to 5 coat/day, and total 8 to 10 coats I apply. This makes pretty good results for me.
I shipped this guitar to Japan. There is a big humidity difference between California and Japan. Due to the high humidity, this guitar needed to use a strong truss-rod adjustment. To minimize the truss-rod tension, I re-installed fret wires without removing fret wire tings. This makes reverse neck curve to compensate the string tension. In California, this setting makes string action too low; however, the setting for Japan is quite different. I have learned from this lesson.


Sunday, November 24, 2013

MD and SSJ complete

Both SSJ 12-strings and MD are completed. I already shipped the 12-strings to the client.

I did side by side comparison between previously made guitars and new African black-wood versions for both SSJ and MD. Both ABW models showed much brighter tonal quality than Brazilian RW or King wood.  Form these experiences, I could say that the ABW has the best tonal quality for the steel-strings guitars. Difference is quite small; however, ABW has an unique sound character. Only ABW makes this kind of brightness and rich over tones. This was my surprisingly interesting experiences. Yes, ABW makes some of the best sound qualities, however, this material gives me a lot of problems and challenges. ABW has so many defects. ABW is super oily and very herd to drum sand. ABW is brittle. ABW is heavy. ABW is very expensive. 


Sunday, November 10, 2013

12 strings guitar test

12 Strings SSJ model is completed except an electrical pick-up system installation. I also forget to order the 12-strigs set. So, I tested as a 6-strings set-up. Although the top has slightly thick board thickness for 12-strings configuration, this guitar generated amazingly nice sound. After a year of playing, this guitar will fully open-up to generate rich and loud sound. This model employed an hybrid bridge design to minimize bridge weight. This bridge looks like a 6-strings bridge; however, there are 6-additional strings support at bottom.


Sunday, November 3, 2013

Final sanding and polishing

After two weeks of resting for both  MD and SSJ, two guitars are ready for final sanding and polishing. I started with 600-grit sanding following 1200-grit and 2000-grit sanding. I sanded with water with couple of drops hand soap to keep sandpaper fresh. Then, both guitars are polished using a polishing compound. Now, both guitars are completed rough polishing sessions. Both guitars need hand polishing sessions using a super fine grade polishing compound. Next week, I might be able to install bridges to both guitars.


Tuesday, October 15, 2013

Final coat apply

Finally, the final coats are applied. I used Target EMM6000 water based acrylic finish. Last time, I used the EMM7000HB with some troubles. EMM6000 is so much easy to control for me. This time, I have gotten very satisfied results, and I am pretty happy. Two guitars need two weeks to cure the finishing, and then I will take surfacing and polishing.


Sunday, October 6, 2013

Epoxy filler sanding and Yellow stain apply

Sanding for the Epoxy filler is done. I did two sessions for the neck filler apply, and one session for the body and the top. After finishing the sanding session, I applied Yellow stain on top for both models. Yellow stain is very light color; however, it is enough to make an impressive beauty.


Monday, September 30, 2013

Epoxy Filler Apply

I finished Epoxy filler apply for both SSJ and MD models. I will have an additional sanding session for the neck soon, and then apply one more filler to neck. Neck material needs at least two filling sessions, because of porous material. African Black wood body does not need many filling sessions, because of the material density. Hopefully, I will have final coats spraying sessions this weekend; however, this is depending on how nicely complete the filling session.


Sunday, September 22, 2013

Final Sanding

Final sanding for both MD and SSJ is done. I still want to check all of defects and gaps, and fill all of those imperfect portions to be perfect. Next week, I will apply Epoxy filler for both models.


Sunday, September 15, 2013

Fretwire install and heal cap making

I finished fret wire install for both SSJ and MD models. I also installed heal cap for both models. MD model has a matched black wood heal cap for the finger board material. SSJ model has a matched Brazilian rosewood heal cap.
Next week, I will have final sanding and Epoxy filler install.


Sunday, September 8, 2013

Finger board Install

I have done truss-rod install, fingerboard install, finger board rudiusing, and machine head drilling.
When I install graphite rods and truss rod, I always install wood filling strips for better adhesion and avoiding large gaps between truss rod and the fingerboard. This also prevents unwanted rattling issues.
For the 12-strings model, I employed the Gohto Stealth tuning machines. This machine has approximately half weight as the Gohto mini 510 tuning machines. So, the complete guitar head weight is approximately same as the 6-strings model. This is very exciting for me, because I am able to make a 12-strings guitar that has exactly the same weight balance as the 6-strings model.


Monday, September 2, 2013

Neck Joint

     Neck joint and carbon glass-fiber rods installation are done. As I mentioned before, I changed the neck joint method from the bolt on joint to the tendon joint. I also installed two wooden pins. This is the permanent neck joint. After joint the neck, the truss rod channel and the carbon glass-fiber rod channels are routed. Then, I installed two carbon glass-fiber rods using Epoxy glue.
     Next week, I install fingerboard and fret wires.After the final sanding. I will start finishing work.


Sunday, August 25, 2013

Neck making 5

Neck rough shape is done for both MD and SSJ (12 string) models.Both necks have 21mm thickness at 1st fret and 23mm thickness at 10th fret. Neck for the SSJ model is also finished the volute shaping. Next week, I might be able to complete neck making for both models. Both neck will be jointed to the body.


Sunday, August 18, 2013

Neck making 4

I spend a lot of time to do fine adjustment for neck angle for the neck joint. Finally, the fine adjustment is over. I also made a Brazilian RW fingerboard for 25.34" scale for the 12-stringth model, because 12-stringth configuration creates more string tension.  For the 6-stringth model, I selected 650mm (25.59") scale for more over tones. However, 25.59" scale makes more strong strings tension. I also trimmed the neck width. Now, two necks are ready for final joint to the body.


Sunday, August 4, 2013

Neck making 3

I installed necks to bodies. Neck joint method is mortise joint method. Now, both guitars are completed assembly. I need a little bit ore precise fitting at the joint. Then, glue the joint. After, glue the joint, locking wood pins will be installed.


Sunday, July 28, 2013

Neck making 2

This week, I finished back plate install, and neck joint routing. I made a routing jib for uniform quality for the mortise joint. Additional processes for the neck making are finger board install and truss rods install. So, next week these necks are pretty much done.