Kohei Fujii Guitars
Tuesday, October 15, 2013
Final coat apply
Finally, the final coats are applied. I used Target EMM6000 water based acrylic finish. Last time, I used the EMM7000HB with some troubles. EMM6000 is so much easy to control for me. This time, I have gotten very satisfied results, and I am pretty happy. Two guitars need two weeks to cure the finishing, and then I will take surfacing and polishing.
Sunday, October 6, 2013
Epoxy filler sanding and Yellow stain apply
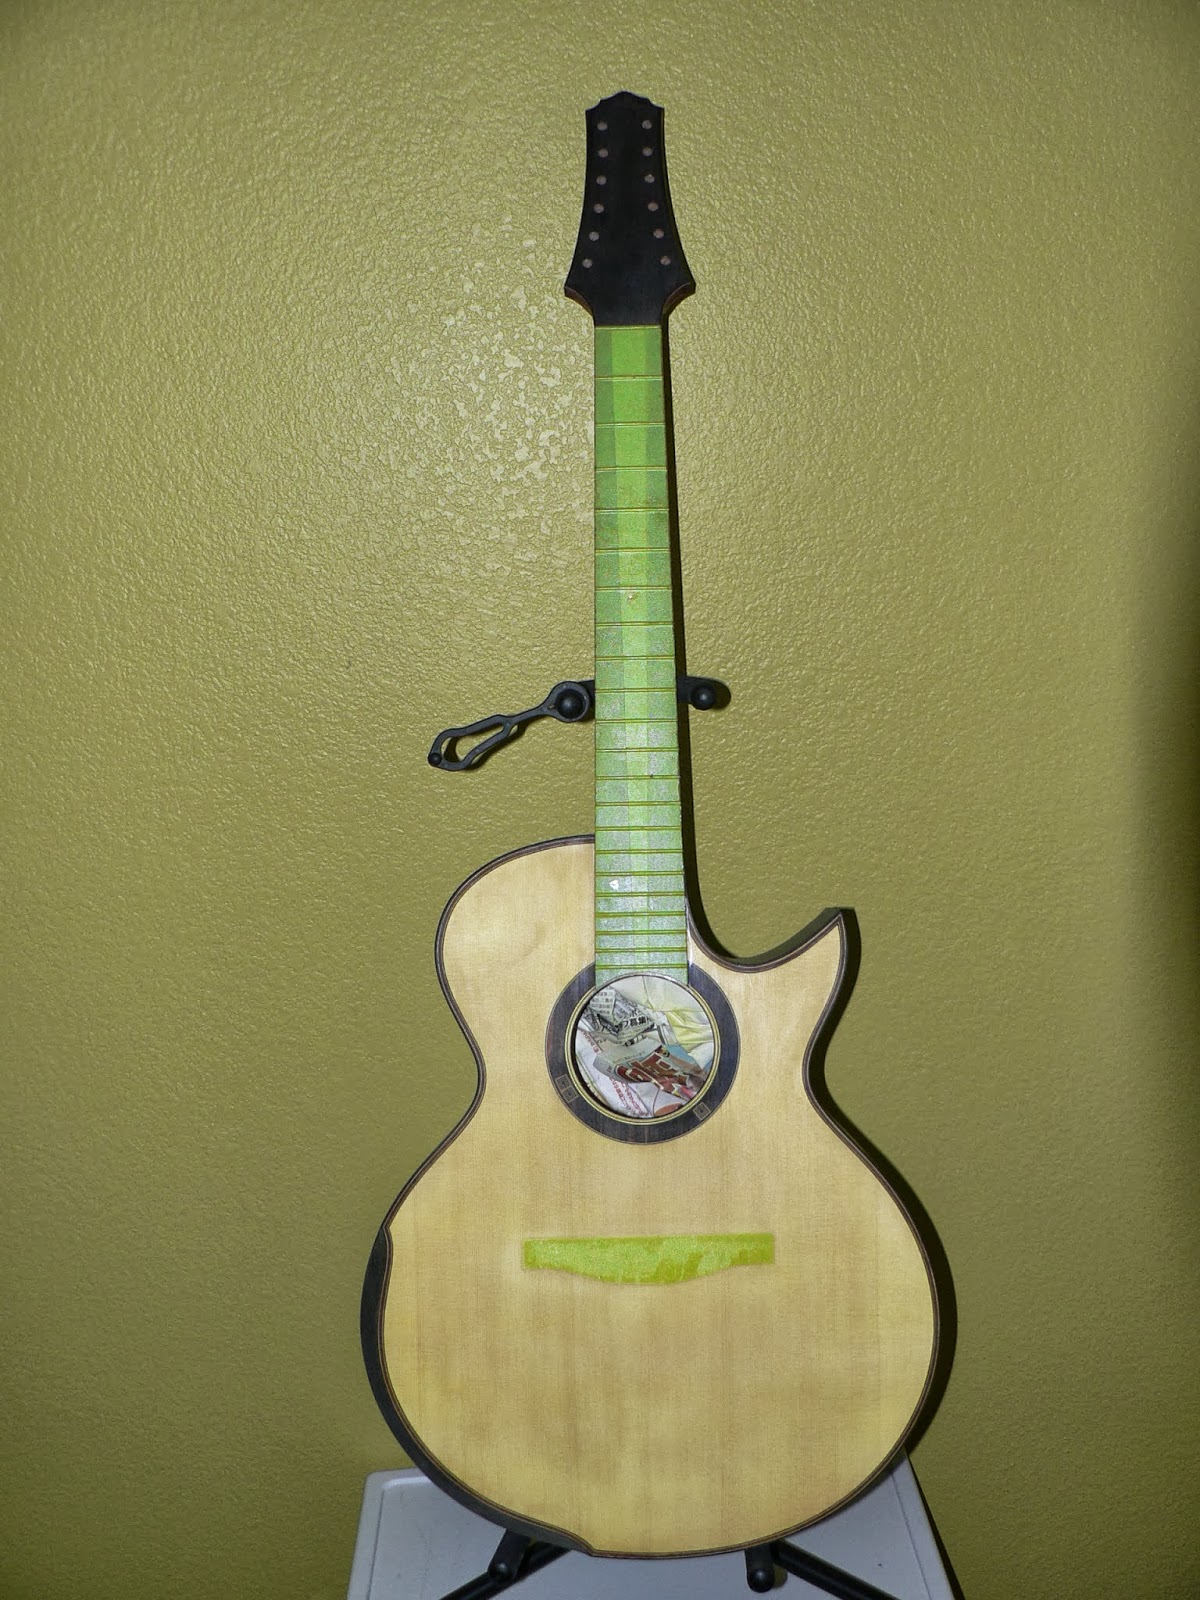
Sanding for the Epoxy filler is done. I did two sessions for the neck filler apply, and one session for the body and the top. After finishing the sanding session, I applied Yellow stain on top for both models. Yellow stain is very light color; however, it is enough to make an impressive beauty.
Monday, September 30, 2013
Epoxy Filler Apply
I finished Epoxy filler apply for both SSJ and MD models. I will have an additional sanding session for the neck soon, and then apply one more filler to neck. Neck material needs at least two filling sessions, because of porous material. African Black wood body does not need many filling sessions, because of the material density. Hopefully, I will have final coats spraying sessions this weekend; however, this is depending on how nicely complete the filling session.
Sunday, September 22, 2013
Final Sanding
Final sanding for both MD and SSJ is done. I still want to check all of defects and gaps, and fill all of those imperfect portions to be perfect. Next week, I will apply Epoxy filler for both models.
Sunday, September 15, 2013
Fretwire install and heal cap making
I finished fret wire install for both SSJ and MD models. I also installed heal cap for both models. MD model has a matched black wood heal cap for the finger board material. SSJ model has a matched Brazilian rosewood heal cap.
Next week, I will have final sanding and Epoxy filler install.
Sunday, September 8, 2013
Finger board Install
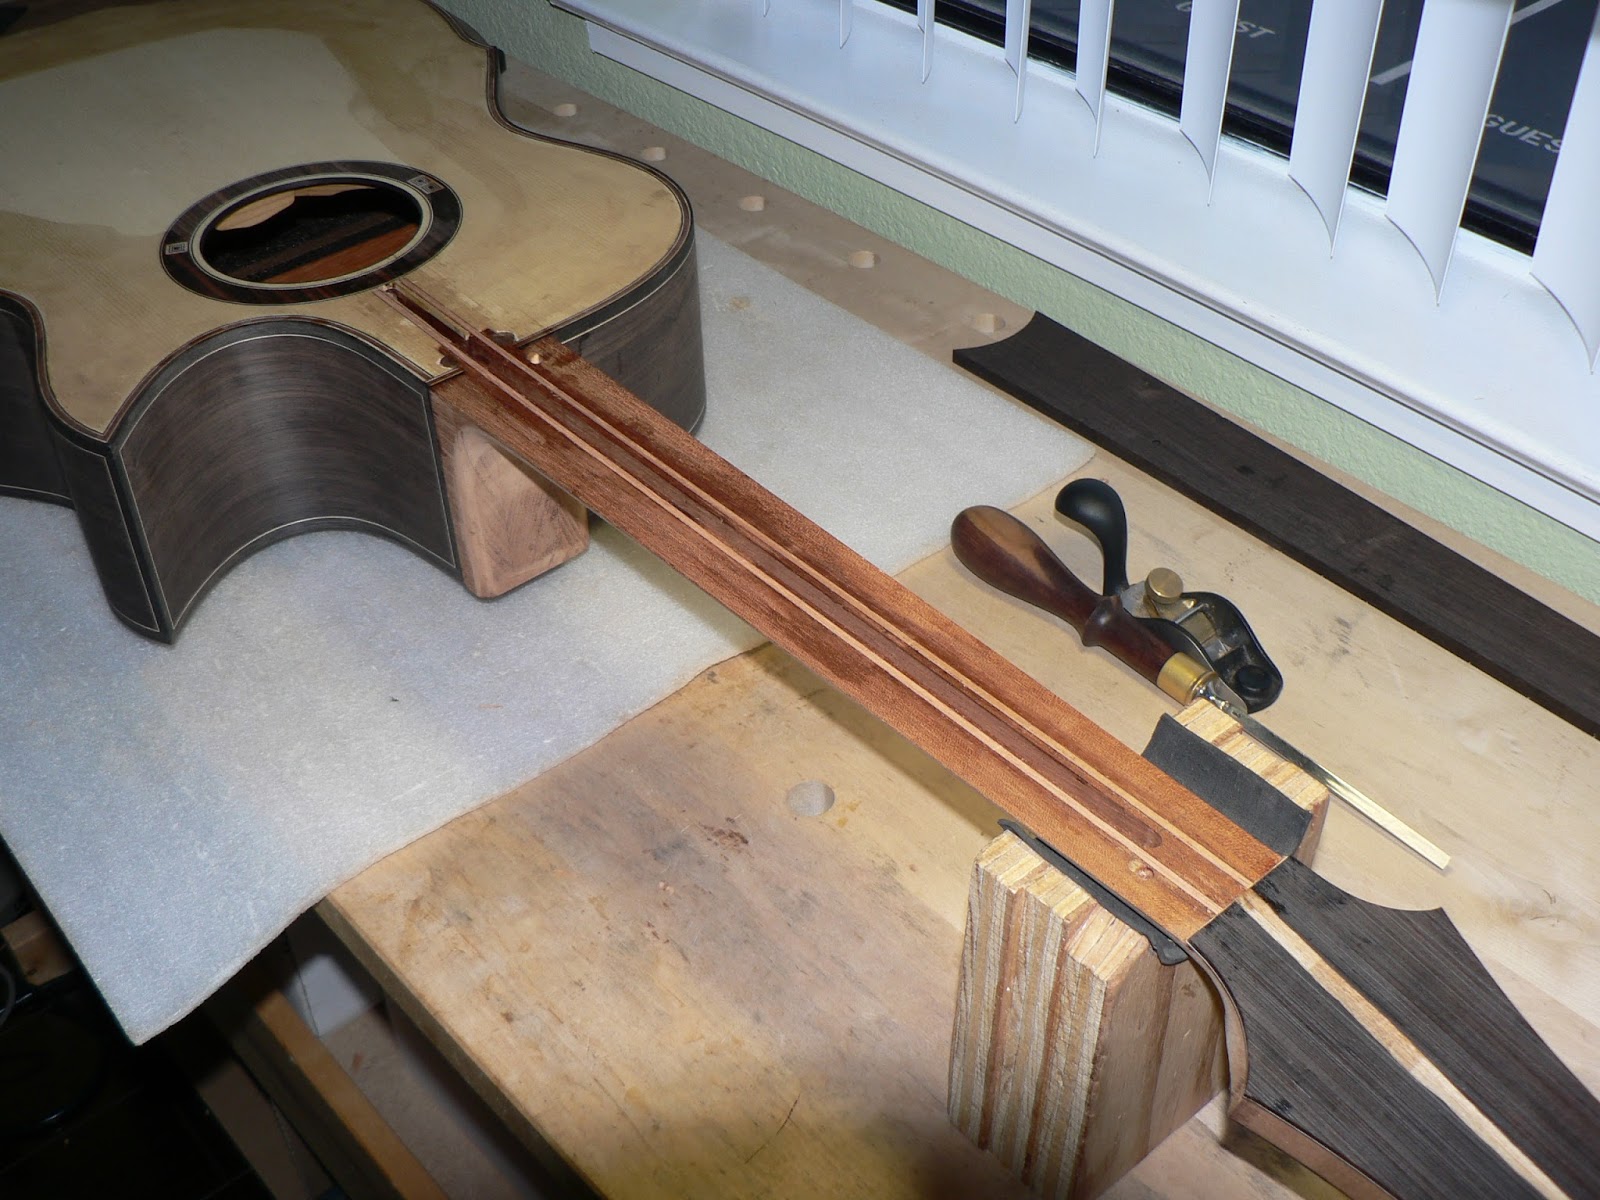
I have done truss-rod install, fingerboard install, finger board rudiusing, and machine head drilling.
When I install graphite rods and truss rod, I always install wood filling strips for better adhesion and avoiding large gaps between truss rod and the fingerboard. This also prevents unwanted rattling issues.
For the 12-strings model, I employed the Gohto Stealth tuning machines. This machine has approximately half weight as the Gohto mini 510 tuning machines. So, the complete guitar head weight is approximately same as the 6-strings model. This is very exciting for me, because I am able to make a 12-strings guitar that has exactly the same weight balance as the 6-strings model.
When I install graphite rods and truss rod, I always install wood filling strips for better adhesion and avoiding large gaps between truss rod and the fingerboard. This also prevents unwanted rattling issues.
For the 12-strings model, I employed the Gohto Stealth tuning machines. This machine has approximately half weight as the Gohto mini 510 tuning machines. So, the complete guitar head weight is approximately same as the 6-strings model. This is very exciting for me, because I am able to make a 12-strings guitar that has exactly the same weight balance as the 6-strings model.
Monday, September 2, 2013
Neck Joint
Neck joint and carbon glass-fiber rods installation are done. As I mentioned before, I changed the neck joint method from the bolt on joint to the tendon joint. I also installed two wooden pins. This is the permanent neck joint. After joint the neck, the truss rod channel and the carbon glass-fiber rod channels are routed. Then, I installed two carbon glass-fiber rods using Epoxy glue.
Next week, I install fingerboard and fret wires.After the final sanding. I will start finishing work.
Subscribe to:
Posts (Atom)