Kohei Fujii Guitars

Kohei Fujii Guitars

Monday, July 28, 2025

Neck making part-1

     I have a good progress for the neck making. A neck branks have had assembled before the body assembly work. This long time delay helps the neck blanks stabilization from the gluing work.
 I have been using a 1x4" and approximately 7' long flat sawn mahogany or Spanish cedar. Believe or not, those expensive neck wood are solid floor materials, and you can buy cheap . Three piece laminate neck becomes one piece equivalent integrity at the heal section. I can make a nearly perfect quarter sawn neck. Also, the three piece configuration is much stronger and stabler than one piece neck. My neck has two carbon fiber reenforcement rods and a double action truss rod. My neck has a truss rod access tonnel made by Brazilian RW. This makes a perfect contact between the nut and the neck. 
     I completed a 25.4" scale slotting for a Brazilian RW fingerboard. This is a donated material from my long lasting friend. This Brazilian RW finger board was cut for late Taku Salasita's project. The MD model design is based on the Taku's blue print. Whenever I make the MD model, I remember Taku. That is why I selected this material. I never forget a grate guitar maker, and menter of my guitar making late Taku Sakashita.

Saturday, July 19, 2025

Beveled armrest completed

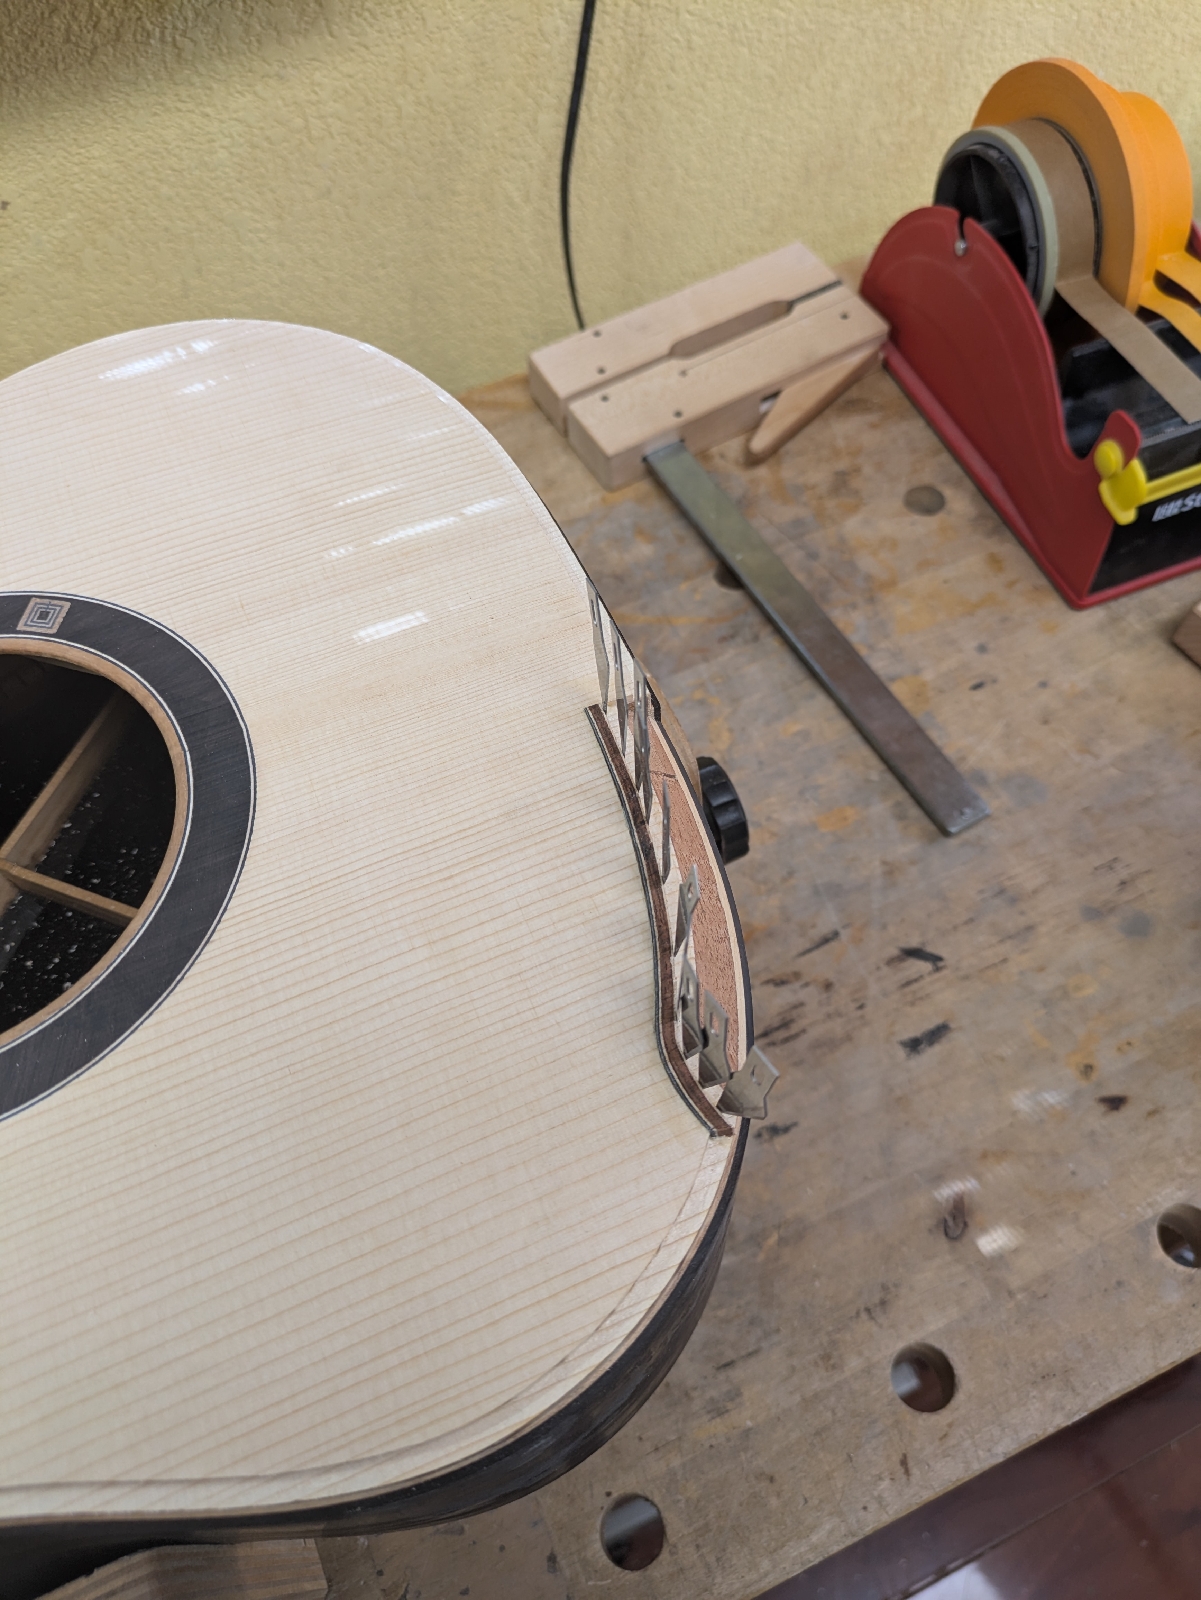
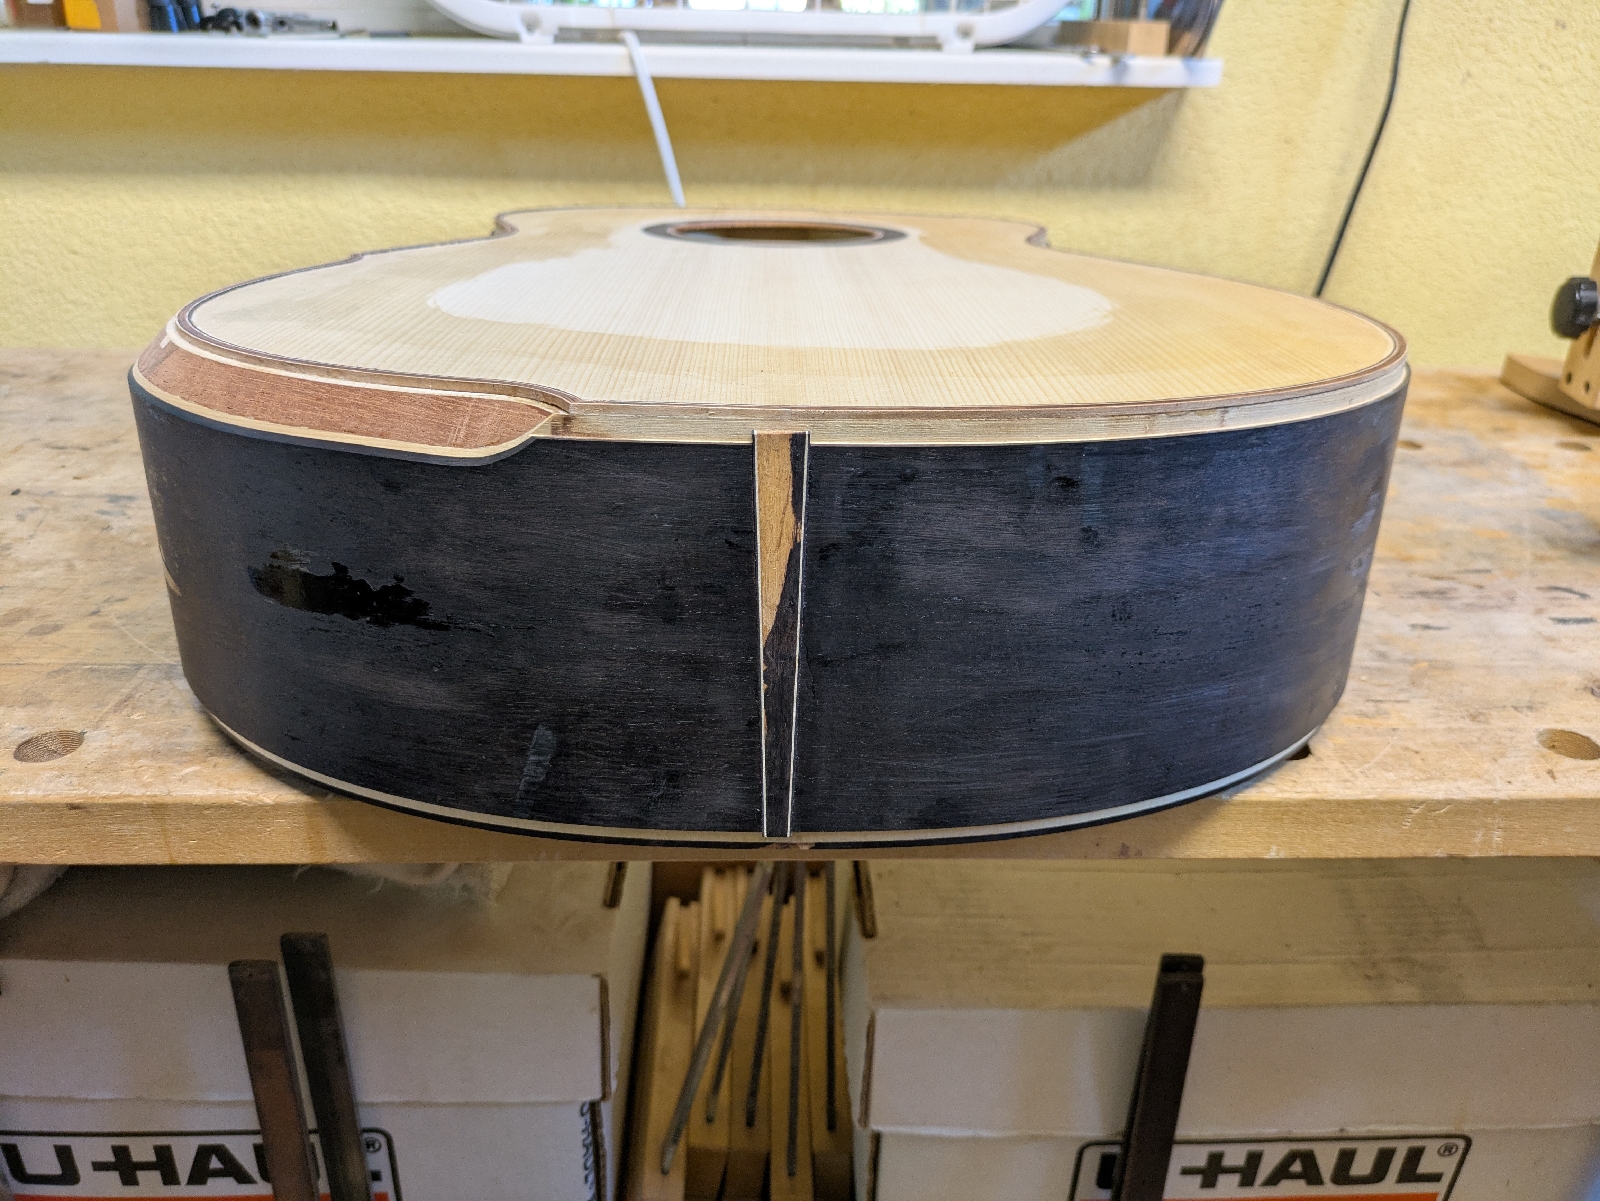
     The Blbeveled armrest and the neck joint beveled edge are completed. I used the African BW veneer for beveled edges. Gluing work for the beveled edge veneer is a tricky work. The veneer must be precisely cut and curved to the beveled edge. I used the Epoxy with super fine African black wood sanding dust. This makes almost invisible glue joint. The beveled edges seemlessly connect to the binding. After scraping and sanding work for leveling, the binding and beveled edges show clean design with black white border.
     This guitar will have an elevated neck with the beveled neck joint. This combination makes a cut-a-way equivalent play ability at the high position. This design can be maintained the maximum body chamber size, which enables full sound capability. Also, the elevated neck will be isolated from the sound board. This isolated fingerboard design maximizes the sound board vibration. This design improves the sound quality particularly bus side due to the full length of the active soundboard.

Sunday, July 13, 2025

Binding install

     I completed binding install except beveled edges. My beveled edge design is the Ruskin style. My beveled edge requires tiny 2x2 mm border to fill the 45 degree edge. This 2x2mm border will be 45degree cut before a veneer for the beveled edge install. 2x2mm material is the African black wood. Binding material is also the African black wood. Between the African BW binding and the body has a black-white trim. I carefully completed binding and purfling install without creating major gaps. I have good satisfactions from my successfull binding and purfling works.
     Next step is the beveled edge cut and the veneer install. This guitar has the African blackwood body and binding. This combination created a very unique blacky guitar. 

Sunday, July 6, 2025

Purfling install and binding material making

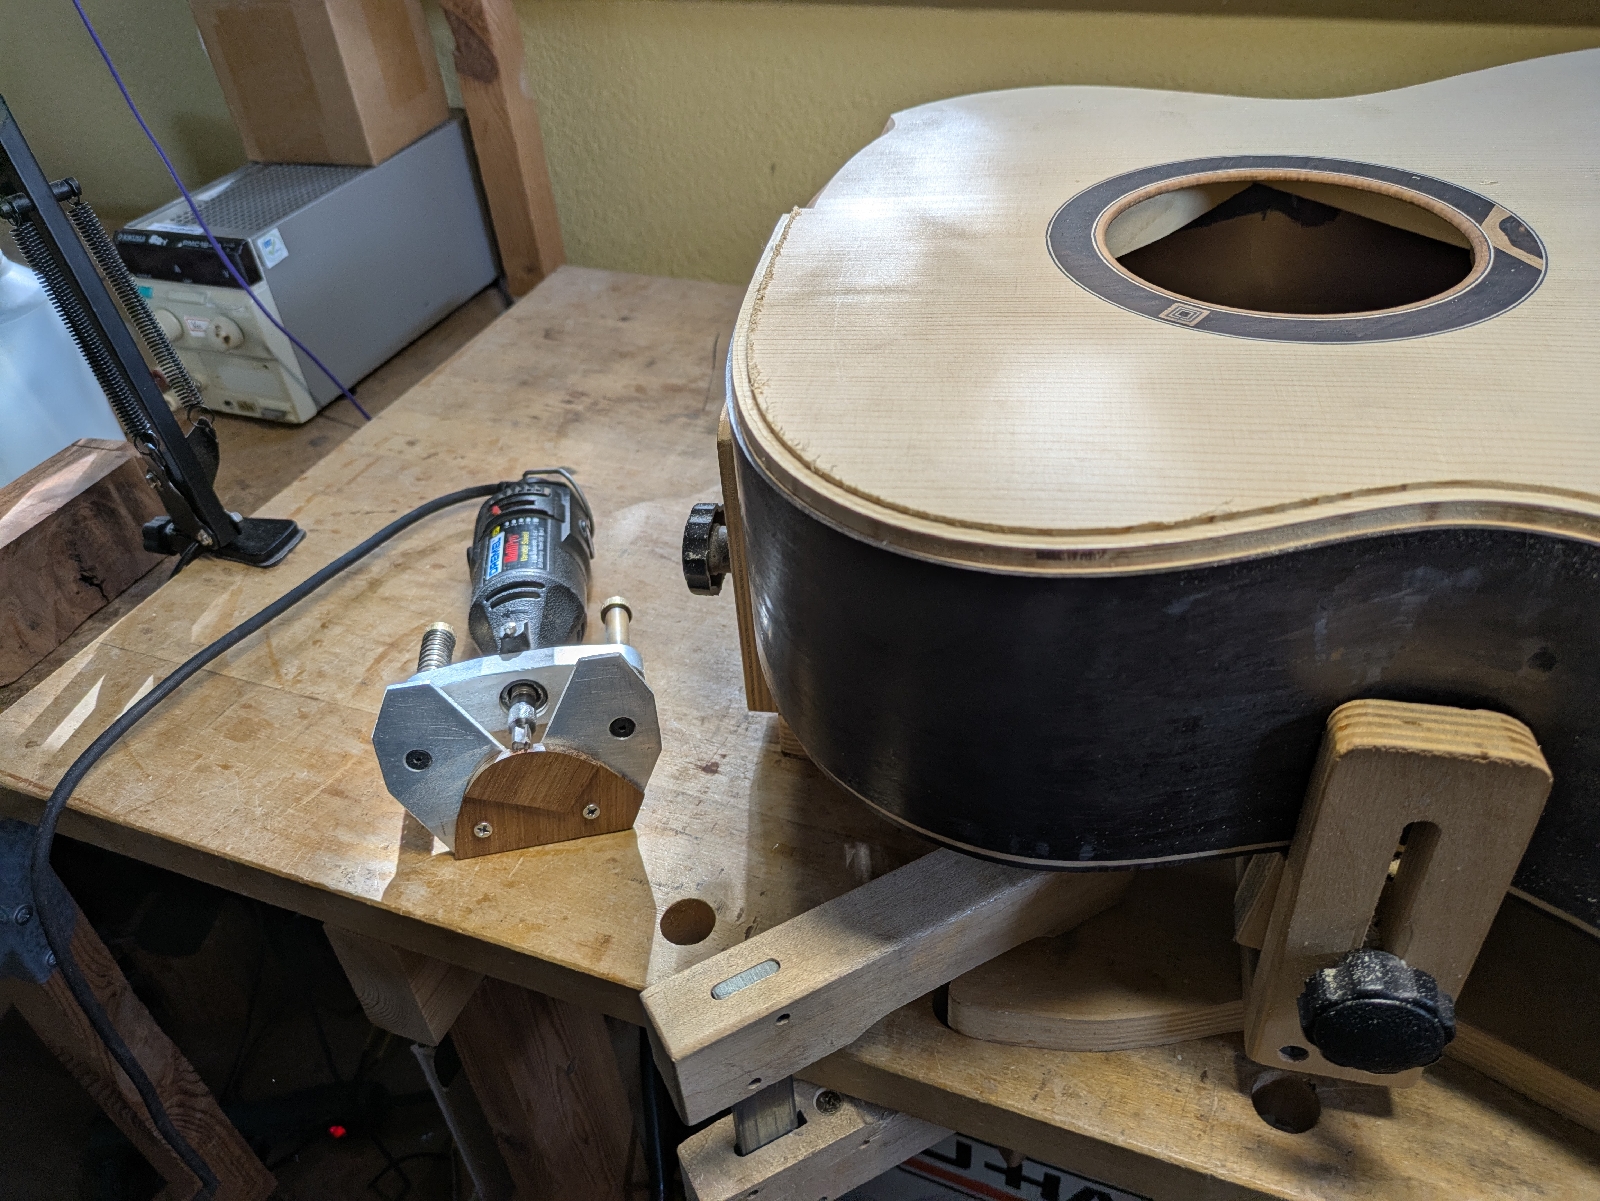
     I completed the purfling install work. This guitar has maple, Brazilian RW, maple, and black dyed maple purfling. I have been using my custom purfling channel cut jig for the Dremel. It is a simple jig; however, it enables to cut the purfling channel quite accurately without delicate work. 
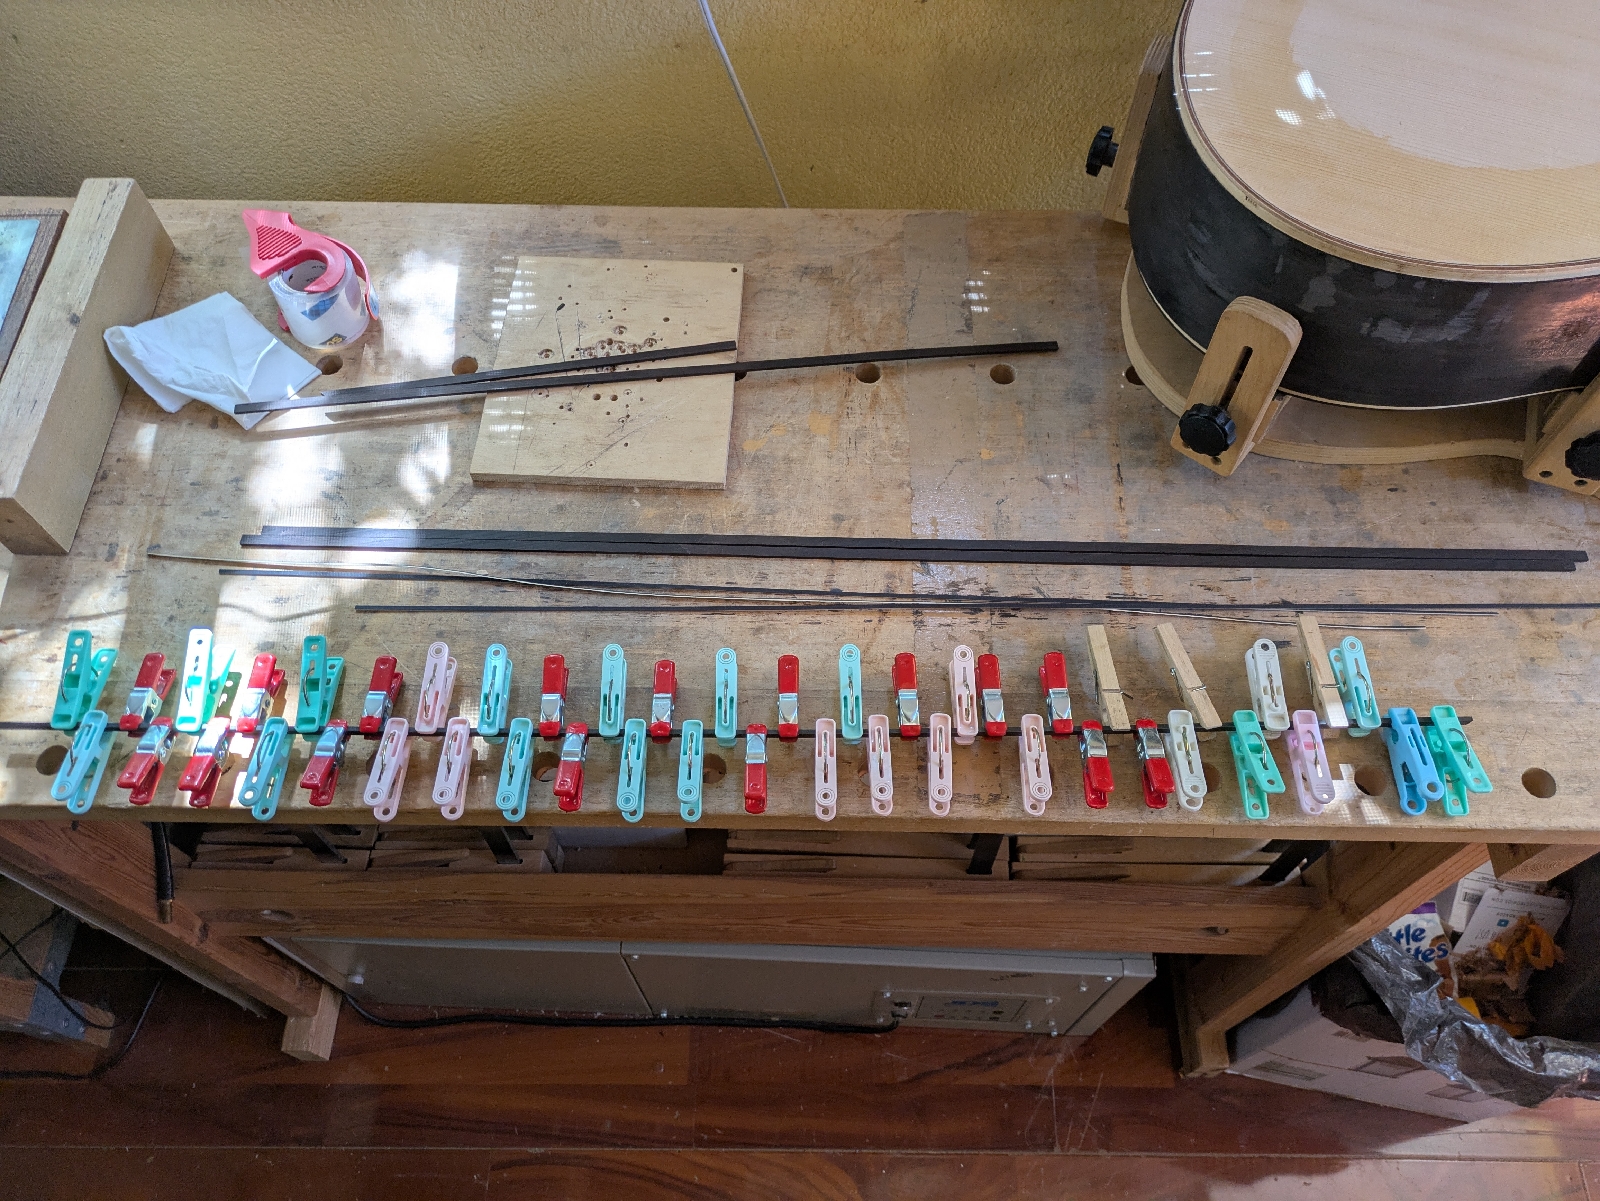
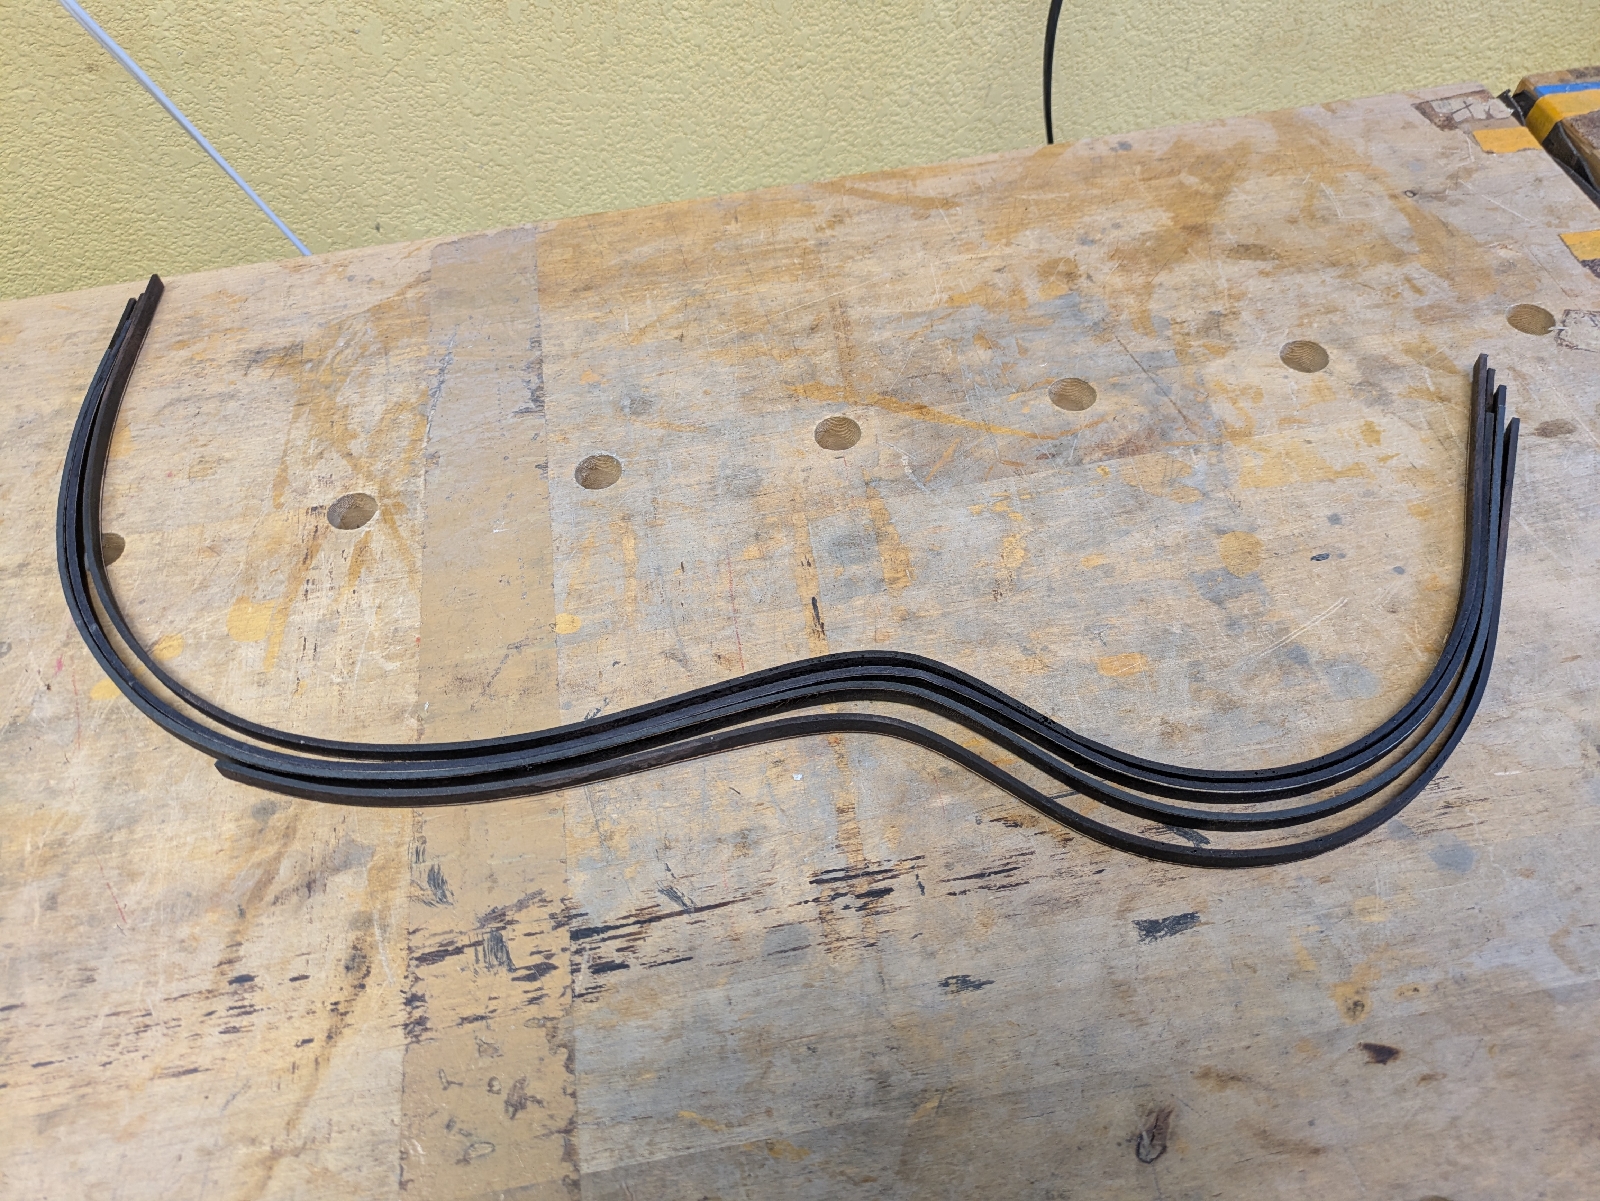
     I also completed binding material making. This guitar has African black wood binding with a  black and white inlay border. I always glue the black and white inlay before bending the binding. 
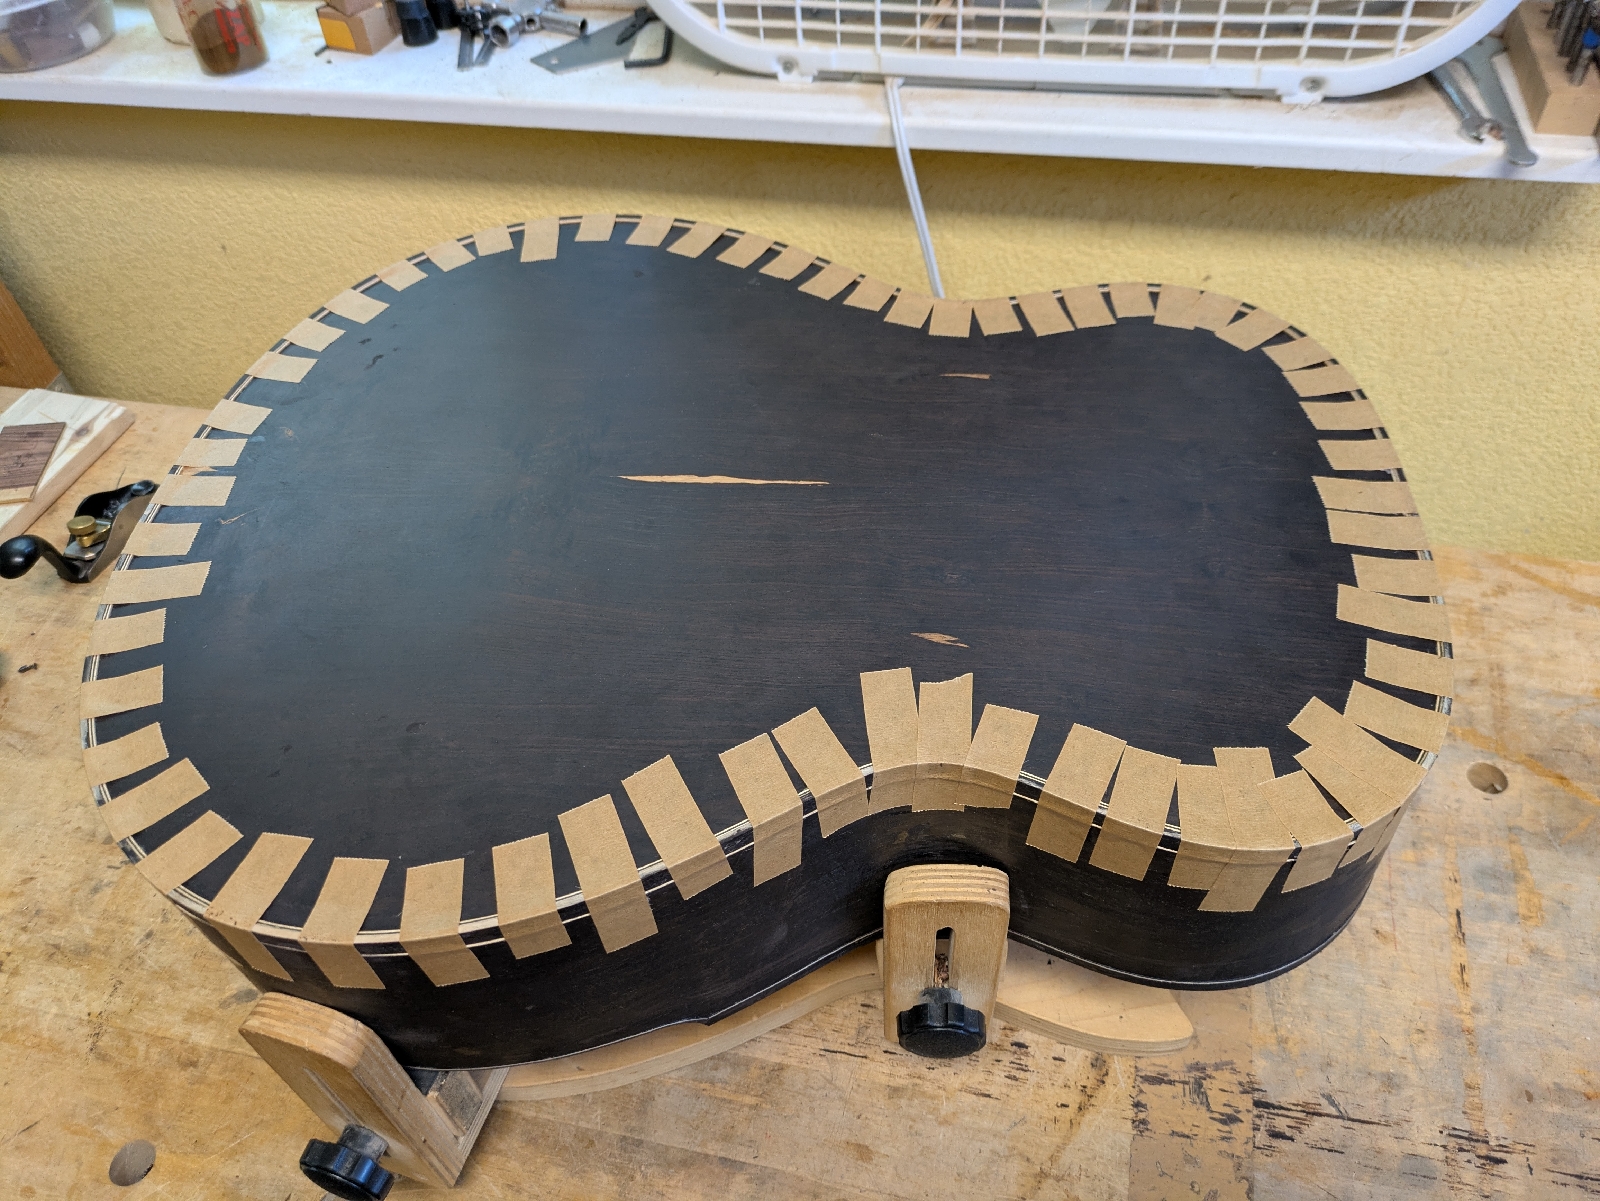
     Purfling and binding install proceses are a time consuming work. Curve fitting work is the most important process. Before glue the purfling and binding, a perfect fitting makes a high quality gluing without any gaps. As you see the top has one coat of shellac. This is a prevention coat from the fiber tear off, when I remove clumping tapes.